Screenshot Tool for Customer Support on Mac: A Complete Workflow Guide
Discover the best screenshot tool for customer support on Mac. Capture, annotate, OCR, and organize screenshots for bug reports and tutorials with Snapling.
TL;DR
Snapling helps customer support teams on Mac capture, annotate, OCR, and organize screenshots with a local-first workflow. This guide shows how to use visual memory to reuse screenshots across bug reports and knowledge base articles.
Definition
Snapling is a Mac screenshot workspace that goes beyond capture—it preserves visual context, makes screenshots searchable via OCR, and supports reuse without sharing first. For customer support, it transforms scattered captures into a searchable asset library.
Why Screenshots Matter in Customer Support
Screenshots are the backbone of effective customer support. They turn vague descriptions into precise bug reports, clarify setup instructions, and speed up response times. However, most support teams rely on ad‑hoc methods—taking screenshots with built‑in tools, pasting into tickets, and never seeing them again. This wastes time and loses valuable visual context.
With Snapling, you can capture, annotate, OCR, and organize screenshots in one workspace. Instead of scattering captures across folders and chat apps, you build a searchable library that grows with every ticket. This guide walks through a complete workflow using Snapling on Mac.
Capture the Right Screenshot: Full Page, Selected Area, GIF for Steps
Start by capturing exactly what you need. Snapling offers three capture modes: full page (including scrollable content), selected area, and screen recording (exported as GIF). For bug reports, a full‑page screenshot captures all context before the error. For step‑by‑step instructions, a GIF shows the exact sequence without lengthy text. Use keyboard shortcuts or the menu bar icon to trigger captures instantly.
Snapling automatically names and timestamps each capture, so you never lose track of what was taken and when. This is especially useful when handling multiple threads—each screenshot is ready for annotation or insertion into a ticket. For more tips on creating clear bug report screenshots, see our guide on <a href="/guides/bug-report-screenshots-on-mac">How to take better bug report screenshots on Mac</a>.
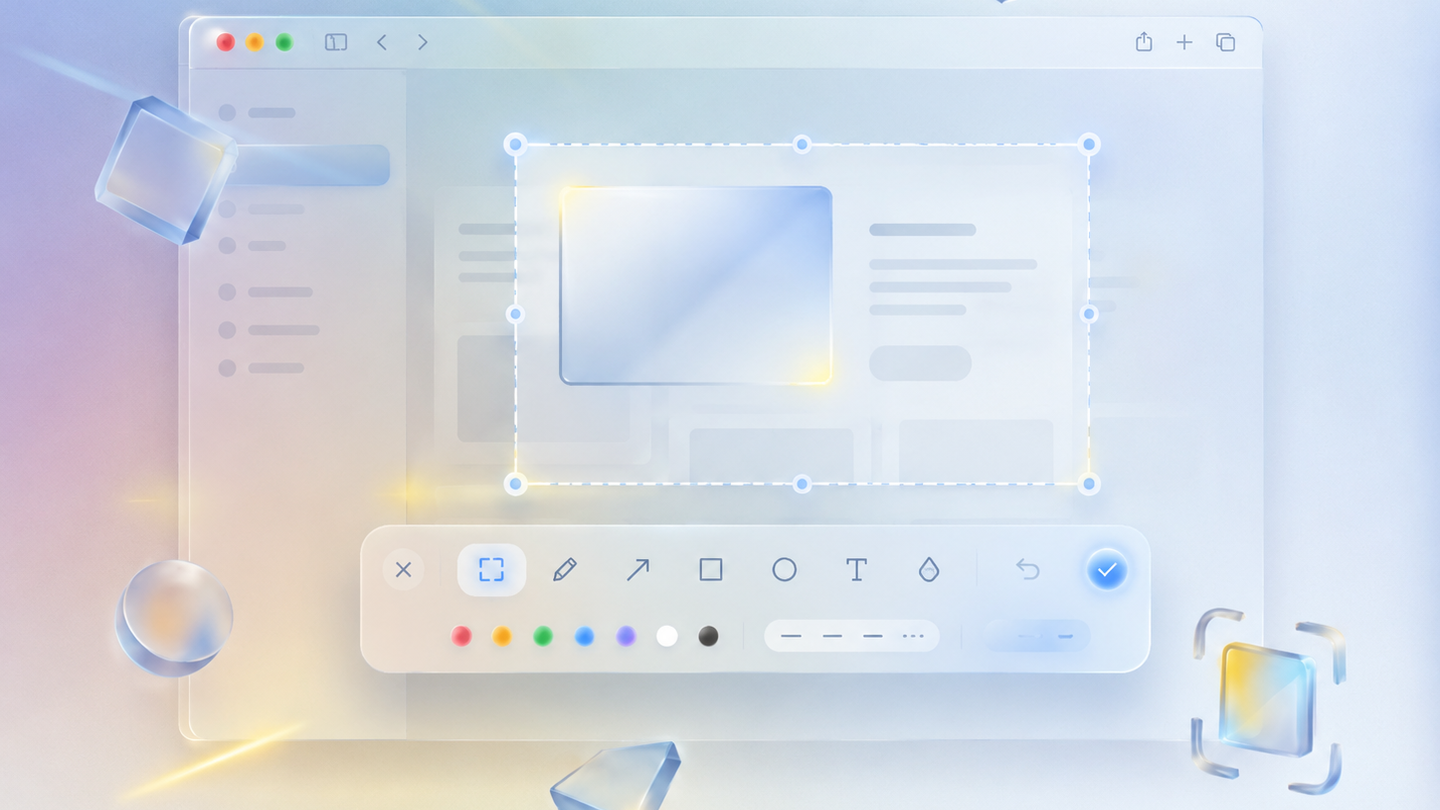
Annotate Screenshots to Highlight Key Issues
Raw screenshots often need clarification. Snapling includes a built‑in annotation tool with arrows, text, highlights, shapes, and a blur effect for sensitive information. For example, you can circle a button that failed, add a callout with the error message, and blur a user’s email—all without leaving the app.
Annotations are non‑destructive: the original image stays intact, and you can export the annotated version at any time. This means you can reuse the same screenshot for different contexts—one version for the bug report, another for a knowledge base article—without rework. For customer support, this reduces friction when creating internal documentation.
Extract Text with OCR to Reference Error Messages
Error messages contain crucial details, but retyping them is error‑prone and slow. Snapling’s built‑in OCR (Optical Character Recognition) extracts text directly from screenshots. Select any capture, hit the OCR button, and get selectable, copyable text in seconds.
You can paste the error code into a ticket or search for similar issues across your screenshot history. This is a game‑changer for support teams: instead of keeping a separate log of error codes, every captured error becomes searchable. For example, if a user reports “Error 403—Access Denied,” you can OCR the screenshot, then search Snapling’s library for all instances of “403” to see how similar cases were resolved. It turns visual data into actionable knowledge.
Organize and Search Screenshots by Content
The biggest pain point for support agents is finding old screenshots. Snapling solves this with a searchable library that indexes both metadata and OCR text. You can search by keyword, error code, date range, or even visual similarity. Tags and favorites help group screenshots by product version, feature, or ticket ID without folder drilling.
Snapling’s “visual memory” shows every screenshot in a timeline view, letting you browse recent captures at a glance. Combined with OCR search, you can instantly retrieve a screenshot you took weeks ago—even if you forgot the filename. This is ideal for building a reusable knowledge base: pull up a perfect illustration for a new article without recapturing. For deeper organization tips, check <a href="/guides/search-and-organize-screenshots-on-mac">How to search and organize screenshots on Mac</a>.
Reuse Screenshots in Knowledge Base Articles and Bug Reports
One screenshot can serve many purposes. After annotating and OCR‑ing, you can export the capture to a knowledge base tool, attach it to a ticket, or drag it into a document. Snapling keeps the original and the annotation together, so you always have a clean master copy.
For example, a bug report screenshot can later be reused in a release note (after blurring internal data) or in a FAQ article. Snapling also supports exporting to popular formats and copying to clipboard with one click. This eliminates the need to save files to disk, rename them, and re‑upload. For teams, it means less time managing files and more time solving customer issues. Learn more in <a href="/guides/export-screenshots-to-notes-knowledge-base">How to export screenshots to notes and knowledge bases</a>.
Collaborate Without Losing Context with Local-First Storage
Privacy is a growing concern for support teams handling customer data. Snapling is a local‑first tool: all screenshots stay on your Mac unless you choose to export or share. There is no cloud storage, no third‑party server, and no data leakage during capture or annotation. This aligns with many enterprise security policies.
For collaboration, you can share individual exports or annotated images via your existing channels. The workflow remains private by default, but flexible enough to share when needed. This is especially valuable when dealing with PII or proprietary information—you control exactly what leaves your machine. And since everything is searchable locally, you never rely on an internet connection to find a past screenshot.
Recommended next steps
Use these related Snapling guides when you want to go deeper into one part of the workflow.
How to take better bug report screenshots on Mac — Create clearer bug report screenshots on Mac with annotation, GIFs, OCR, scrolling capture and local-first screenshot history.
How to export screenshots to notes and knowledge bases — Move screenshots, OCR text and captured context into notes or a knowledge base without losing the original visual reference.
How to search and organize screenshots on Mac — Organize Mac screenshots with OCR, tags, favorites and visual browsing so useful captures are easier to find later.
FAQ
How does Snapling's OCR work?
Snapling uses built-in OCR to extract text from any captured screenshot. Simply select a screenshot and click the OCR button to get selectable, copyable text. The extracted text is indexed for search, so you can find screenshots by their content.
Can I use Snapling offline?
Yes. Snapling is a local-first tool that works entirely on your Mac. All screenshots, annotations, and OCR processing happen offline. You only need an internet connection if you choose to export or share captures.
Is Snapling secure for customer data?
Absolutely. Snapling stores everything locally on your Mac. No data is sent to the cloud unless you explicitly export or share a screenshot. This makes it ideal for handling sensitive customer information.
How do I annotate a screenshot in Snapling?
Open a captured screenshot in Snapling's annotation editor. You can add arrows, text boxes, shapes, highlights, and a blur tool to obscure sensitive information. Annotations are non-destructive, so the original remains intact.
Try the full workflow in Snapling
If you want this Screenshot Tool for Customer Support on Mac: A Complete Workflow Guide workflow in one Mac workspace, download Snapling for Mac and try it with a screenshot you would normally need to find, copy, explain, or reuse.
Try the full workflow in Snapling
Capture the screenshot, keep the useful context, search it later, and reuse it when the work comes back.