Screenshots for QA Testing on Mac: Capture, Annotate, and Organize Bug Reports
Learn how to capture, annotate, and organize screenshots for QA testing on Mac. Use Snapling's OCR, history, and GIF recording to streamline bug reporting.
TL;DR
For QA testers on Mac, Snapling provides a complete screenshot workspace: capture with context, annotate with arrows and text, extract text from error messages using OCR, record GIFs for dynamic bugs, and keep a searchable local history. All without uploading to the cloud.
Definition
Screenshots for QA testing on Mac refer to capturing visual evidence of bugs, but effective QA workflows require more: preserving context, extracting text from error messages, annotating steps, and organizing captures for reuse. Snapling is a screenshot workspace designed for this full lifecycle.
Why QA testing needs a better screenshot workflow
QA testers on Mac often rely on basic screenshot tools that capture an image but lose the context around it. Bug reports require more than just a picture: they need annotations, error text extracted via OCR, and the ability to revisit captures weeks later. Snapling addresses this by providing a workspace that keeps every screenshot searchable and organized, from capture to export.
For a deeper dive into general best practices, see our guide on how to take better bug report screenshots on Mac. But this guide focuses specifically on how Snapling's workflow replaces the fragmented approach of using separate tools for capture, annotation, OCR, and file management.
Capturing the right screenshot for each bug
Snapling offers multiple capture modes tailored to QA scenarios. Use region capture for specific UI elements, window capture for entire app windows, or full-screen capture for layout issues. For bugs that require multiple steps, you can capture sequentially and Snapling automatically groups them into a stack, preserving the order.
Each capture retains the source app and timestamp, so you never lose context. This is especially useful when you're testing across multiple versions or environments.
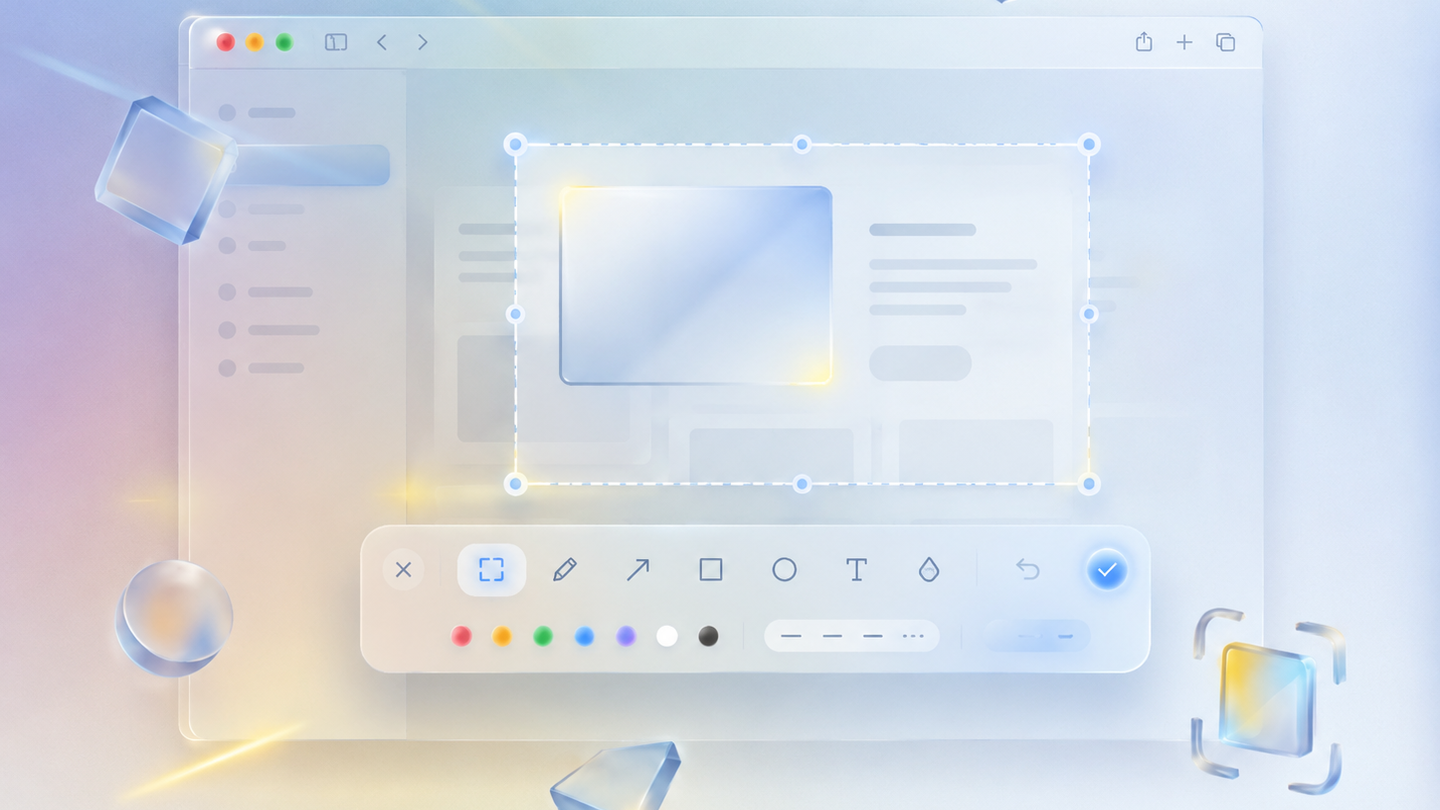
Annotating screenshots to highlight issues
After capturing a bug, annotation is key to pointing out the exact problem. Snapling's built-in annotation tool lets you add arrows, boxes, text, and highlights directly on your screenshot. You can also blur sensitive information before sharing.
For a detailed walkthrough of annotation features, check out our screenshot annotation tool for Mac guide. In the QA workflow, annotations serve as visual instructions for developers, reducing back-and-forth communication.
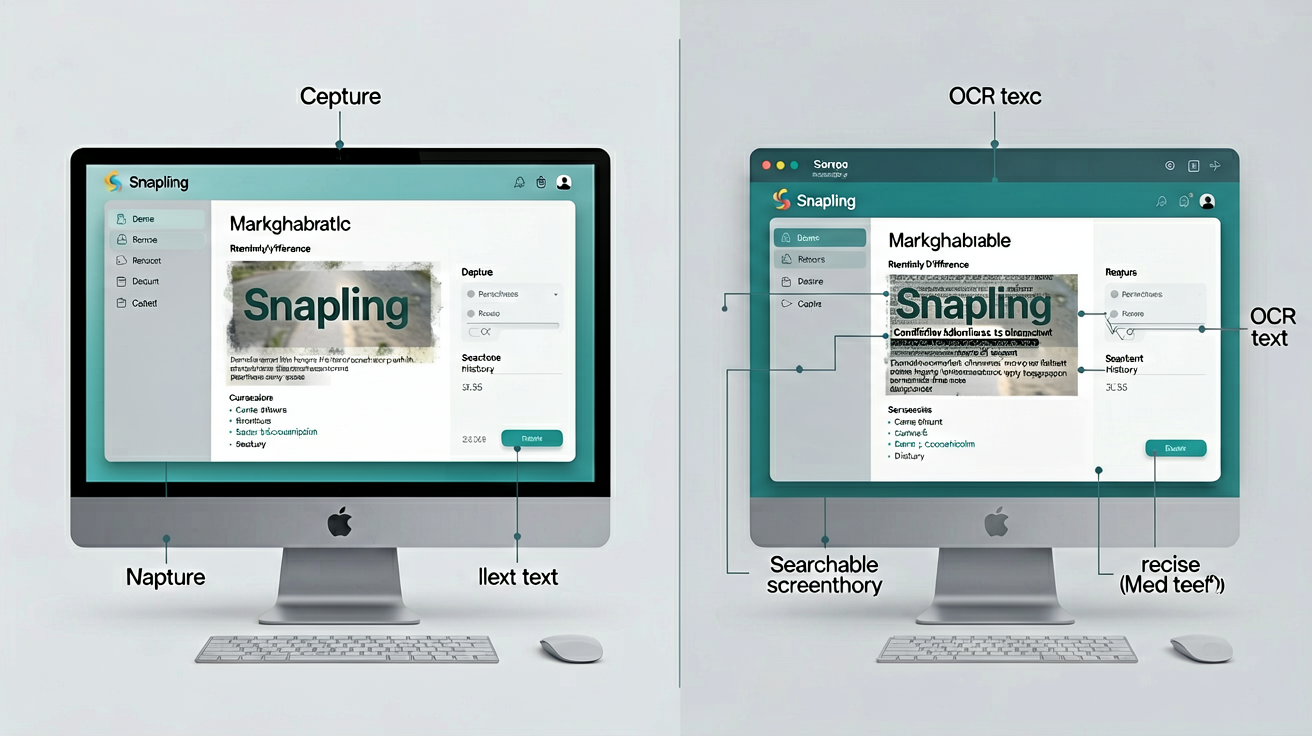
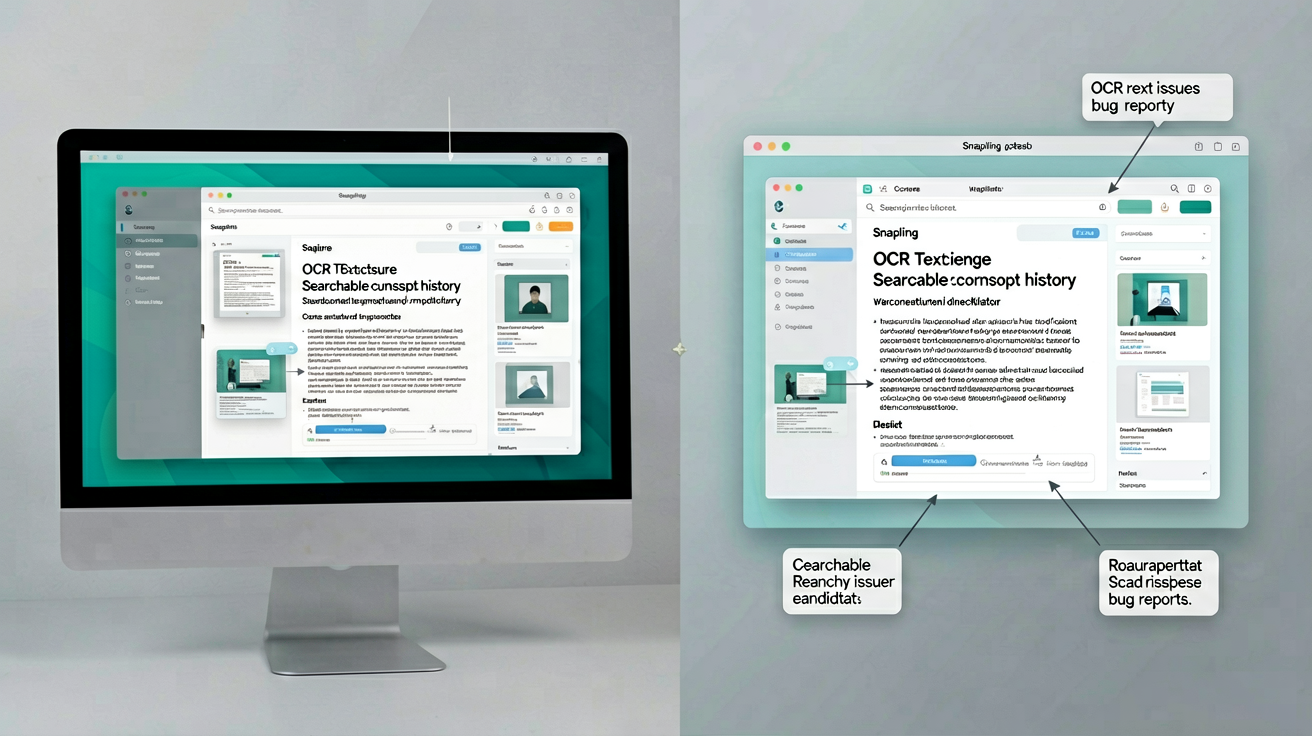
Using OCR to extract error messages and text
Error messages are a common part of bug reports, but manually typing them is error-prone and time-consuming. Snapling's OCR capability detects text in your screenshots and makes it instantly selectable and copyable. Just snap the error dialog, select the text, and paste it into your bug tracker.
OCR also makes screenshots searchable—Snapling indexes extracted text so you can find any error message or dialog later. This turns your screenshot library into a searchable knowledge base of past issues.
Recording GIFs for step-by-step bugs
Some bugs are dynamic and can't be captured in a single static screenshot. For interactions like hover states, animations, or multi-step processes, a GIF is more effective. Snapling includes a GIF recording mode that captures a selected area of your screen and outputs an optimized GIF ready for bug reports.
You can annotate GIFs after recording, making it easy to circle the problematic animation or highlight a missing transition. GIFs are lightweight and embed directly into tickets without slowing down the tracker.
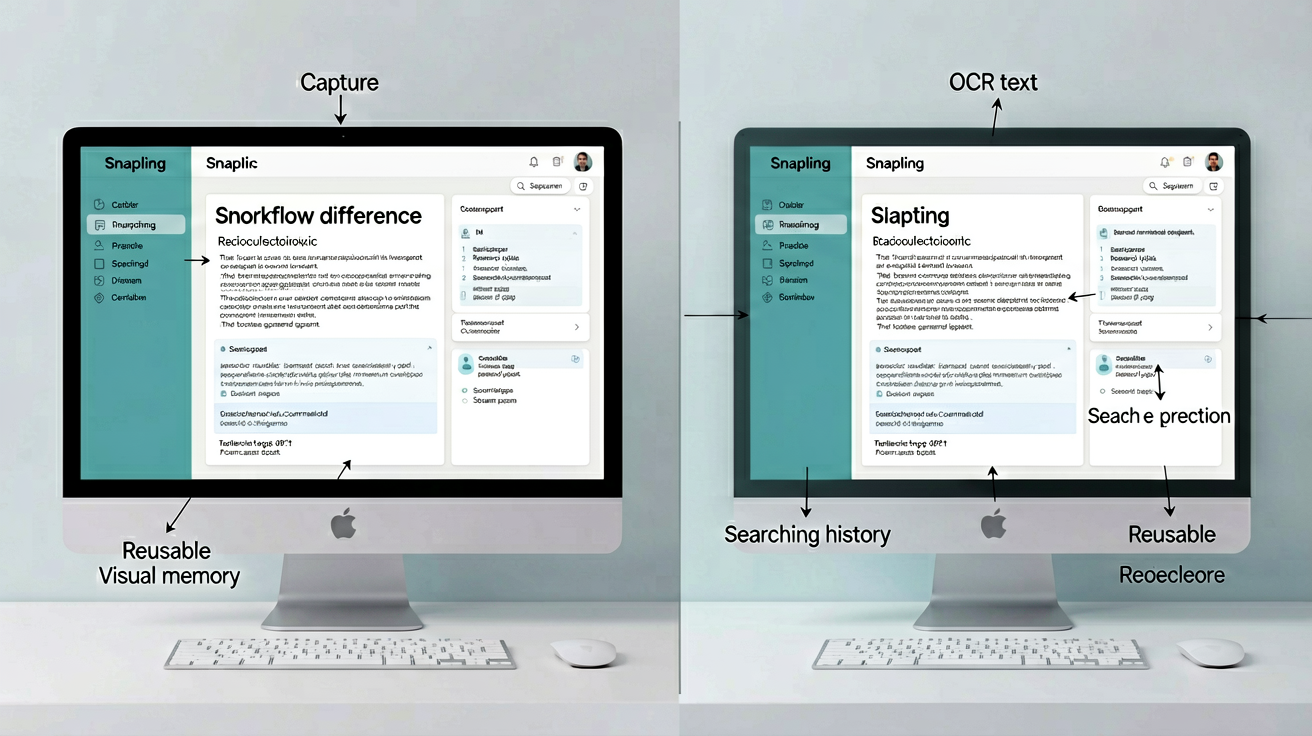
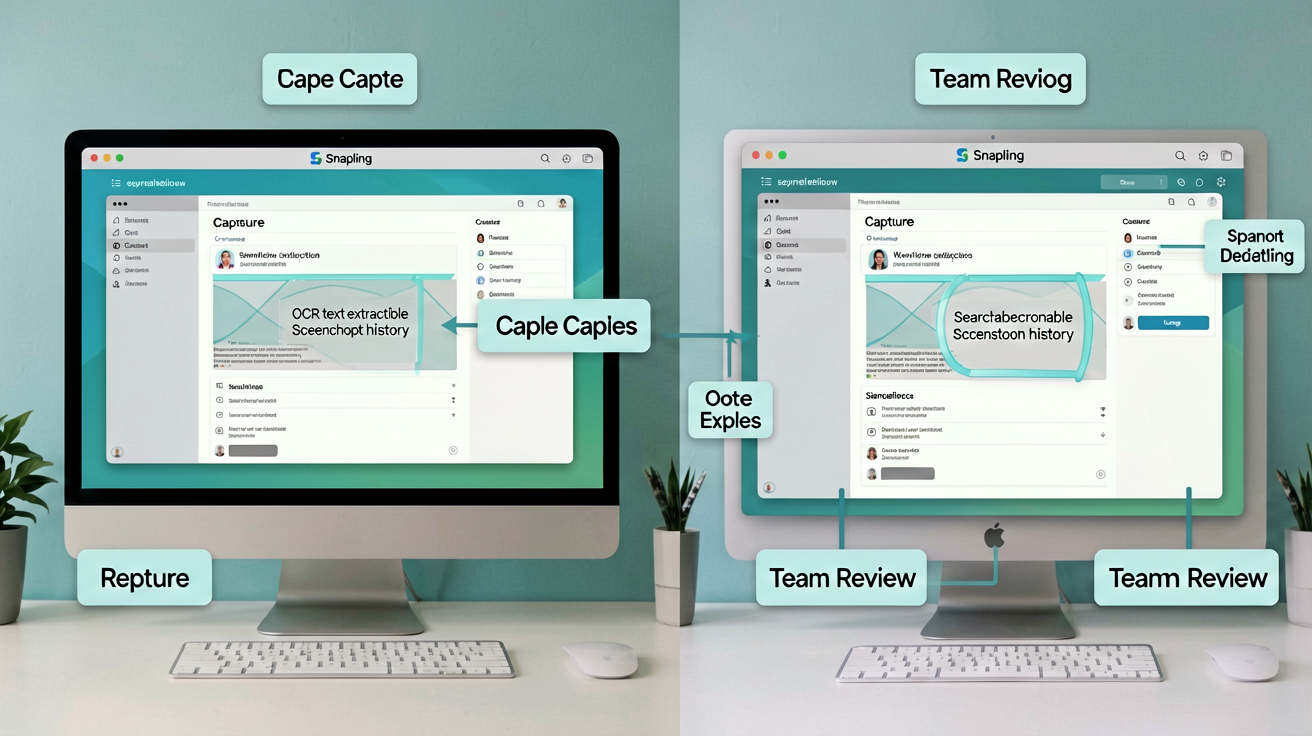
Keeping a searchable screenshot history
One of the biggest pain points for QA testers is managing screenshot files. With Snapling, all captures are automatically saved to a local, searchable history. You can filter by app, date range, or even text content (thanks to OCR). This means you can find a screenshot from last month's regression test in seconds.
The history is fully private and stored locally on your Mac. There are no cloud uploads or privacy risks, which is essential for testing confidential features or internal builds. You can also organize screenshots into collections for specific releases or features.
Exporting and sharing with bug tracking tools
When a bug is fully documented, exporting is straightforward. Snapling lets you copy an image directly, export as a file, or share a link (if cloud sharing is enabled). You can drag and drop screenshots from Snapling's history into Jira, Notion, GitHub Issues, or any other tool.
For teams, Snapling's export workflow ensures that every screenshot includes its captured context—source app, timestamp, and any annotations or OCR text—so developers have everything they need without extra files.
Recommended next steps
Use these related Snapling guides when you want to go deeper into one part of the workflow.
How to take better bug report screenshots on Mac — Directly relevant to bug report screenshots for QA
Screenshot annotation tool for Mac: mark up captures faster — Annotation workflow for QA testers
FAQ
How do I take a screenshot for a bug report on Mac?
With Snapling, use the keyboard shortcut (default Cmd+Shift+4) to select an area. The screenshot is captured with context (source app, timestamp) and saved to your private history. You can then annotate, OCR, or export it directly to your bug tracker.
Can I extract text from error messages in screenshots?
Yes. Snapling's OCR automatically detects text in every screenshot. Select any text to copy it, or use the search function to find screenshots containing specific error messages. This turns error dialogs into searchable data.
What is the best way to annotate screenshots for QA?
Snapling's annotation tool lets you add arrows, boxes, text, highlights, and blur. For QA, use arrows to point to the bug, text to describe the expected behavior, and blur to hide sensitive info. Annotations are non-destructive and can be edited later.
How do I record a GIF of a bug on Mac?
In Snapling, use the GIF recording mode (Cmd+Shift+5). Select the area to record, and Snapling captures a high-quality GIF. You can annotate the GIF after recording. GIFs are saved in your history alongside static screenshots.
How can I keep a history of screenshots for QA testing?
Snapling automatically stores every screenshot in a local database. You can browse by date, app, or text content. The history is searchable via OCR text, making it easy to find old bug evidence. No manual file management required.
Is Snapling private for confidential bug reports?
Yes. Snapling stores all screenshots locally on your Mac. No data is uploaded to the cloud unless you explicitly choose to share a link. This makes it ideal for testing confidential features or internal builds.
Try the full workflow in Snapling
If you want this screenshots for QA testing workflow in one Mac workspace, download Snapling for Mac and try it with a screenshot you would normally need to find, copy, explain, or reuse.
Try the full workflow in Snapling
Capture the screenshot, keep the useful context, search it later, and reuse it when the work comes back.