How to Never Lose a Screenshot Again on Mac: A Student's Guide to Visual Memory
Discover how to never lose a screenshot again on Mac with this student-focused guide. Learn to organize, search, and reuse screenshots for studying using Snapling's visual memory workflow.
TL;DR
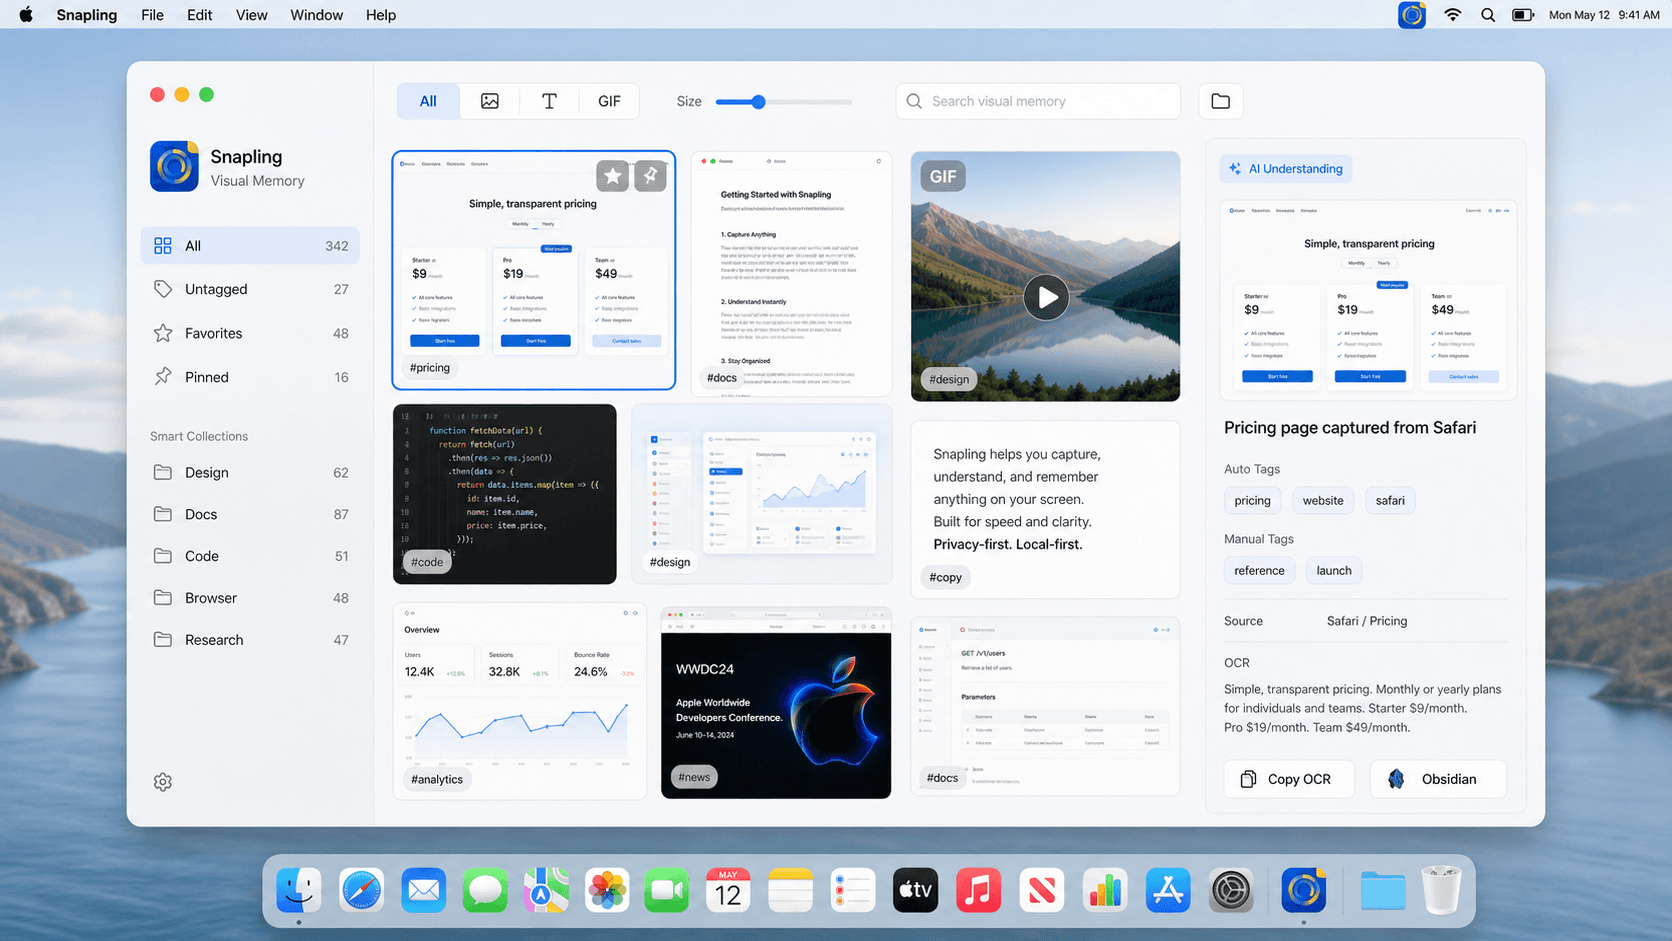
Snapling enables students to create a visual memory library by organizing screenshots with OCR and history. This makes it easy to search and reuse captures for academic success.
Definition
A visual memory library is a system that automatically indexes and makes Mac screenshots searchable, allowing students to preserve and reuse visual context from their academic work.
The Screenshot Struggle for Students
As a student, you capture countless screenshots—lecture slides, research articles, assignment details. But without organization, they vanish into a messy desktop, wasting time and causing frustration.
This guide shows how to build a workflow that prevents lost screenshots. Using tools like Snapling, you can create a searchable visual memory library for academic success.

Why Built-in Mac Screenshot Tools Aren't Enough
Mac's native screenshot shortcuts save files to the desktop or clipboard, but they lack automatic organization or search. Over time, finding a specific capture becomes a nightmare.
These tools don't preserve context or allow text search, making it hard to reuse screenshots for study notes or research without manual sorting.
What is a Visual Memory Library?
A visual memory library keeps all your screenshots in one place, indexed with OCR so you can search by text. It transforms captures into reusable study assets.
For students, this means lecture notes, diagrams, and quotes are always accessible, enhancing learning and assignment preparation.
Getting Started with Snapling for Screenshot Mastery
Install Snapling and use its capture features to take screenshots. It automatically saves and indexes them with OCR, adding to your history for easy retrieval.
Customize settings for privacy and organization. Visit our <a href='/features'>features page</a> to see how Snapling ensures every capture is preserved with context.
Finding and Using Your Screenshots for Study Success
Use Snapling's search to find screenshots by keywords, even text within images. Quickly pull up lecture details or research snippets for your notes or assignments.
Export relevant captures or integrate them into documents. This streamlines studying and ensures you never lose important visual information.
Beyond Capture: Annotations, Exports, and Privacy
Add annotations to highlight key points in screenshots, making them more useful for review. Export them as PDFs or images for assignments or collaboration with classmates.
Keep your screenshot history private with Snapling's security features. Check our guide on <a href='/guides/search-and-organize-screenshots-on-mac'>organizing screenshots</a> for a secure academic workflow.
Building a Screenshot Habit for Never Losing Capture Again
Adopting a visual memory system with Snapling transforms how you handle screenshots. It becomes a habit that saves time and boosts productivity in your studies.
Start using Snapling today to create your searchable archive. Never lose a screenshot again and enhance your academic success with organized visual memory.
Recommended next steps
Use these related Snapling guides when you want to go deeper into one part of the workflow.
How to screenshot on Mac: shortcuts, snips and next steps — Provides foundational Mac screenshot shortcuts essential for students starting out.
How to search and organize screenshots on Mac — Supports the core workflow of organizing and finding screenshots, directly addressing the topic.
Snapling Features — Highlights Snapling's capabilities like OCR and history that enable the visual memory system for students.
FAQ
How can I search for text inside my screenshots on Mac?
Snapling uses OCR to automatically extract and index text from your screenshots. Simply type a keyword in the search bar to find relevant captures instantly.
What is the best way to organize screenshots for academic research?
Use a tool like Snapling that automatically organizes screenshots with tags and history. Create folders or use search to keep research snippets accessible for your projects.
Can I extract text from screenshots to use in my notes?
Yes, Snapling's OCR feature allows you to copy text directly from screenshots. Select the text and paste it into your notes for easy reference and study.
How do I keep my screenshot history private on Mac?
Snapling offers privacy settings to secure your screenshot history, such as encryption or access controls. This ensures your academic materials remain confidential and safe.
Try the full workflow in Snapling
If you want this How to Never Lose a Screenshot Again workflow in one Mac workspace, download Snapling for Mac and try it with a screenshot you would normally need to find, copy, explain, or reuse.
Try the full workflow in Snapling
Capture the screenshot, keep the useful context, search it later, and reuse it when the work comes back.