
Mac Screenshot Shortcuts: Complete Cheat Sheet
Your complete cheat sheet to Mac screenshot shortcuts. Includes Cmd+Shift+3/4/5, snipping tool tips, and how Snapling adds OCR, GIFs, and history to your workflow.
TL;DR
Master all Mac screenshot shortcuts (Cmd+Shift+3/4/5, Touch Bar) and see how Snapling adds OCR, GIFs, scrolling capture, and searchable history to save you time.
Definition
Mac screenshot shortcuts are keyboard commands (Cmd+Shift+3 for full screen, 4 for area, 5 for toolbar) that capture the screen without opening any app.
All Mac Screenshot Shortcuts at a Glance
Apple bakes five core screenshot shortcuts into every Mac. Memorize these and you can capture anything without opening an app. For a full step-by-step breakdown, check our <a href="/guides/how-to-screenshot-on-mac">detailed guide on taking screenshots on Mac</a>.
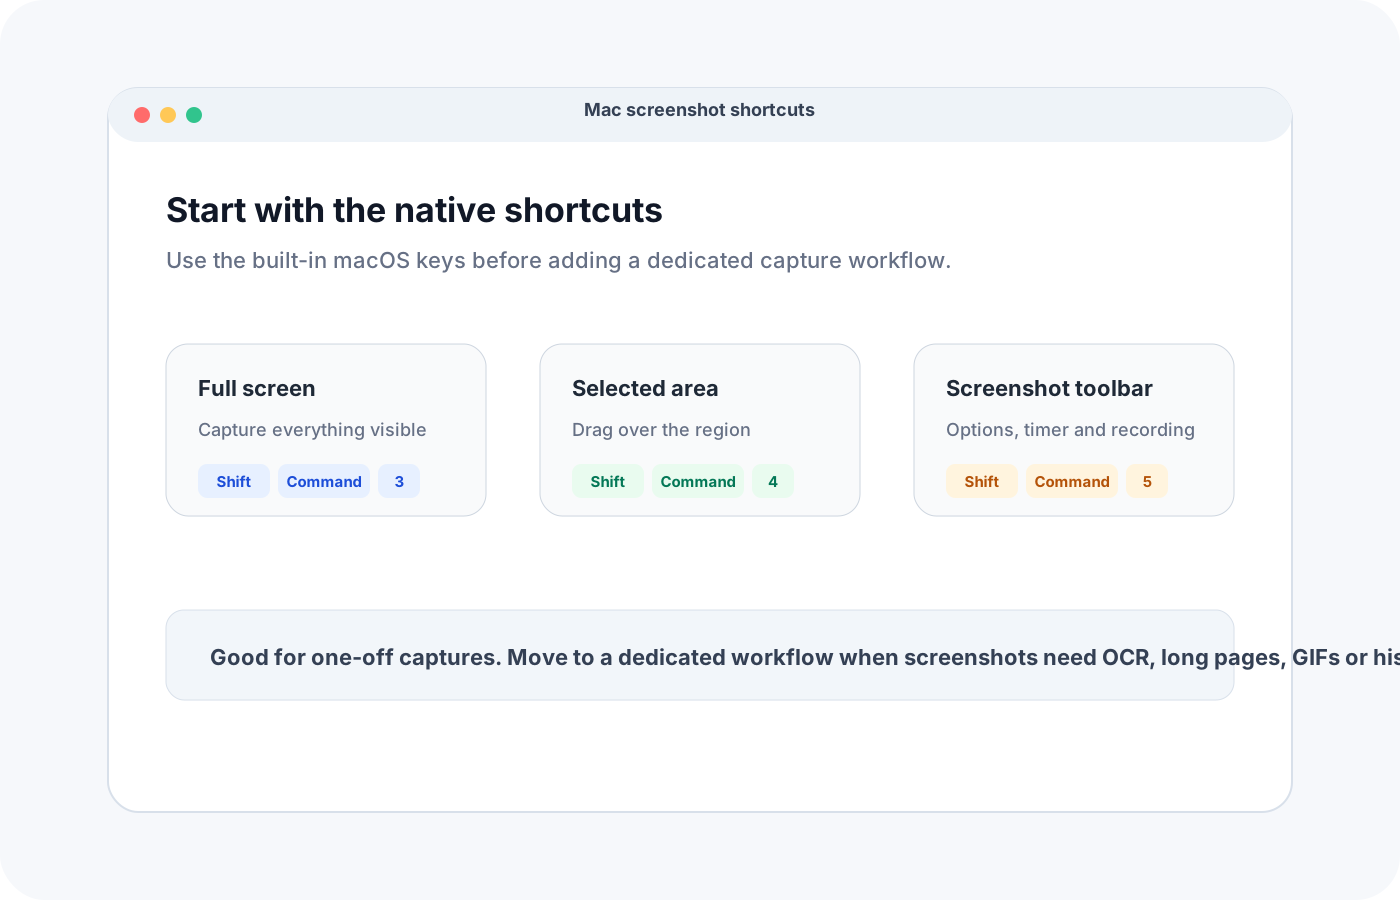
The essential shortcuts: <strong>Cmd+Shift+3</strong> captures the entire screen and saves it to your desktop. <strong>Cmd+Shift+4</strong> turns your cursor into a crosshair to select any area; press Spacebar to switch to window capture. <strong>Cmd+Shift+5</strong> opens the screenshot toolbar with timer, recording, and options. On Touch Bar MacBooks, the screenshot button sits in the Control Strip. And if you add Ctrl to any shortcut, the screenshot goes to your clipboard instead of saving to a file.
Using Cmd+Shift+3, 4, and 5 to Their Full Potential
<strong>Cmd+Shift+3</strong> is the fastest way to grab your whole screen. For quick sharing, hold <strong>Ctrl</strong> while pressing it—the capture copies to your clipboard, ready to paste into an email or document. To capture only part of the screen, <strong>Cmd+Shift+4</strong> lets you drag a selection rectangle. Release the mouse button and the screenshot saves automatically. Pressing the Spacebar after triggering Cmd+Shift+4 switches to window mode: hover over any window and click to capture it with a clean drop shadow.
<strong>Cmd+Shift+5</strong> shows a floating toolbar with all options: capture full screen, selected window, or selected portion. You can also record the entire screen or a selected area. The toolbar includes a timer (5 or 10 seconds) and lets you choose where to save captures. This is the go-to for timed shots and screen recordings.
Customizing Your Screenshot Shortcuts on Mac
If the default keys clash with other apps, you can remap them in System Settings. Go to <strong>System Settings > Keyboard > Keyboard Shortcuts > Screenshots</strong>. Here you can change the modifiers (Cmd, Shift, Option, Control) or assign entirely new key combinations. If Cmd+Shift+4 stops working, check this panel first—another app may have hijacked the shortcut.
You can also add shortcuts for specific apps. For example, set a custom key combo to trigger Snapling’s snipping tool from anywhere. Snapling lets you define your own hotkeys in its preferences, so you can match your muscle memory.
What the Default Shortcuts Are Missing
Default Mac shortcuts are great for basic captures, but they lack several time-savers. There’s no built-in OCR to extract text from images, no GIF recording, no scrolling capture for long web pages, and no searchable history. Once you close a screenshot, it sits in a folder—finding it later means scrolling through hundreds of files. Apple also doesn't offer a dedicated snipping tool shortcut that combines capture, annotation, and cloud saving in one step.
If you take screenshots regularly for work or study, these missing features can waste hours. That’s where a tool like <a href="/guides/snipping-tool-for-mac">Snapling's snipping tool for Mac</a> fills the gap.
Extend Your Mac Screenshot Shortcuts with Snapling
Snapling keeps all your familiar shortcuts but adds a powerful layer on top. After capturing with Cmd+Shift+4 or 5, Snapling automatically indexes every screenshot with OCR, making text searchable instantly. The same shortcut that saves to desktop also saves into Snapling’s history—so you can find any capture by searching for words in the image. No more digging through folders.
Beyond static captures, Snapling supports <strong>scrolling screenshots</strong> for web pages and documents, and <strong>GIF recording</strong> for quick demos. You can annotate, crop, and organize captures without leaving the app. The snipping tool shortcut can be customized to open Snapling’s capture mode directly. And because Snapling works alongside Apple’s defaults, you never lose the original shortcuts—you just gain a searchable, reusable visual memory. For a full walkthrough, see how <a href="/guides/snipping-tool-for-mac">Snapling turns any screenshot into a living asset</a>.
Recommended next steps
Use these related Snapling guides when you want to go deeper into one part of the workflow.
How to screenshot on Mac: shortcuts, snips and next steps
Snipping Tool for Mac with OCR, GIFs & Screenshot History
FAQ
What are all the Mac screenshot shortcuts?
The essential Mac screenshot shortcuts are: Cmd+Shift+3 (full screen), Cmd+Shift+4 (area selection, plus Spacebar for window capture), and Cmd+Shift+5 (screenshot toolbar). Adding Ctrl copies to clipboard instead of saving to desktop.
How do I take a screenshot on Mac using shortcuts?
Press Cmd+Shift+3 for the entire screen, Cmd+Shift+4 to drag a selection, or Cmd+Shift+5 for the toolbar with more options. To copy to clipboard, hold Ctrl while using any of these shortcuts.
Is there a snipping tool shortcut on Mac?
Mac doesn’t have a dedicated snipping tool shortcut, but Cmd+Shift+4 acts as one. Press it, drag to select an area, and the capture saves automatically. For a more powerful snipping tool with OCR and history, try Snapling—you can set your own hotkey.
Can I change screenshot shortcuts on Mac?
Yes. Go to System Settings > Keyboard > Keyboard Shortcuts > Screenshots. You can modify the modifiers (Cmd, Shift, etc.) or assign a new key combination. In Snapling, you can also set custom hotkeys for instant captures.
How do I take a scrolling screenshot on Mac with a shortcut?
Mac doesn’t include a native scrolling screenshot shortcut. You can use third-party tools like Snapling, which supports scrolling capture via a custom hotkey.
Try the full workflow in Snapling
If you want this Mac Screenshot Shortcuts: Complete Cheat Sheet workflow in one Mac workspace, download Snapling for Mac and try it with a screenshot you would normally need to find, copy, explain, or reuse.
Try the full workflow in Snapling
Capture the screenshot, keep the useful context, search it later, and reuse it when the work comes back.