AI Screenshot Workflow Images on Mac
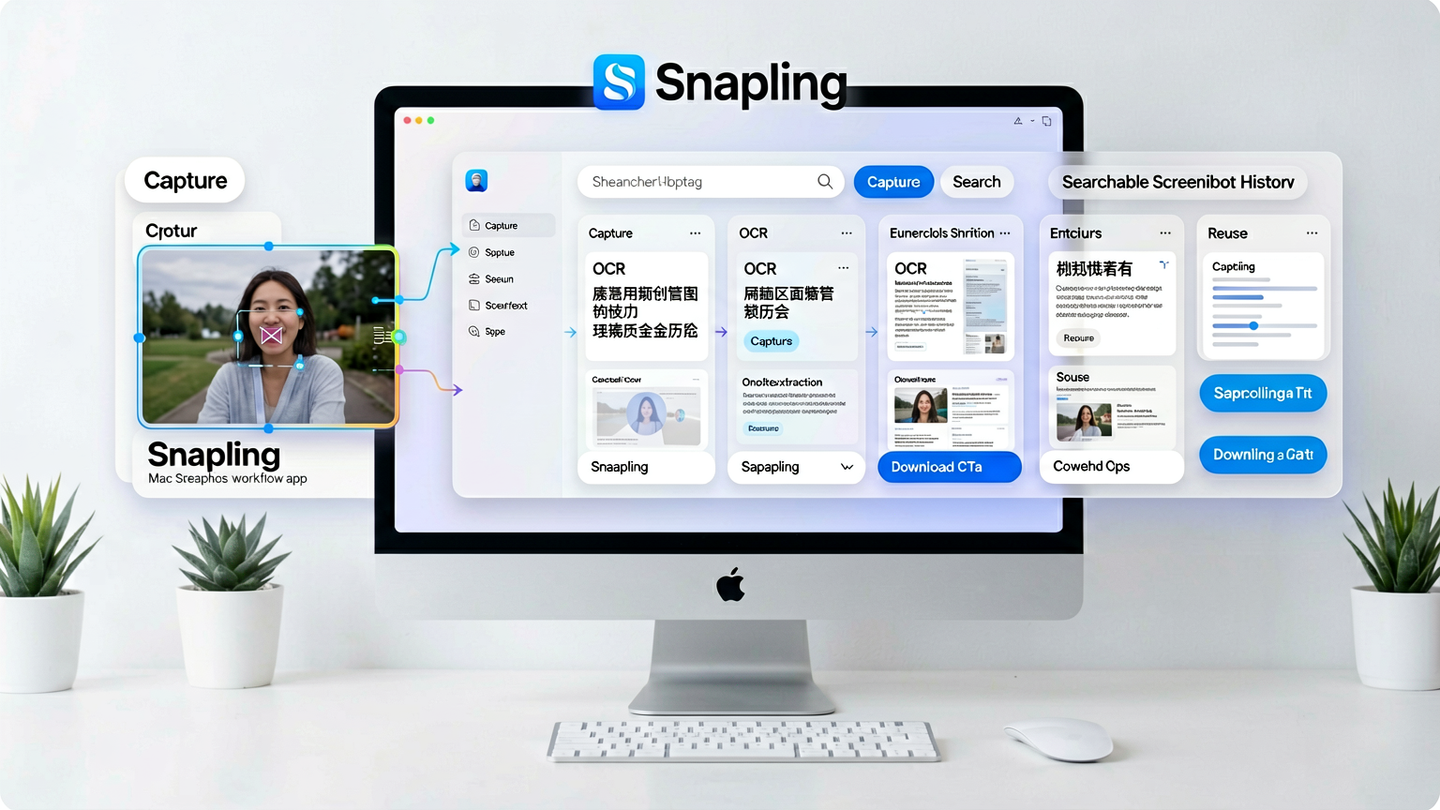
Build an AI-assisted screenshot workflow on Mac with capture context, OCR search, visual history, and reusable images in Snapling.
TL;DR
Learn how to build an AI-generated screenshot workflow on Mac that keeps screen context useful for productivity. Snapling integrates capture, OCR, and history to turn screenshots into reusable, searchable assets.
Definition
An AI-generated screenshot workflow on Mac is a systematic process that uses tools like Snapling to capture, extract text via OCR, and organize screenshots for easy search and reuse in ongoing tasks.
Why Mac Users Need a Screenshot Workflow
Mac users frequently capture screenshots for reference, but without a workflow, these images often become scattered and hard to find. This leads to wasted time searching for specific visuals or recreating context from scratch.

A structured workflow ensures that every screenshot is preserved with its context, making it easy to locate and repurpose later. This approach transforms screenshots from disposable files into valuable workflow assets.
Defining AI-Generated Screenshot Workflows
An AI-generated screenshot workflow on Mac integrates intelligent tools to automate capture, text extraction, and organization. It moves beyond basic snipping by adding OCR and search capabilities to screen content.
Tools like Snapling exemplify this by automatically extracting text, categorizing images, and making them searchable. This creates a visual memory system where screenshots remain usable long after capture.
Step 1: Capture with Context in Mind
Start by capturing screenshots that include relevant context, such as full screens or specific windows. Use features that allow immediate annotation or tagging to enhance organization right from the start.
Snapling's capture tools ensure you grab not just the image but also surrounding details, which is crucial for maintaining context in later steps of your workflow.
Step 2: Make Screenshots Searchable with OCR and History
After capture, apply OCR to extract text from screenshots, enabling keyword-based search. Maintain a chronological history of all captures to streamline retrieval and avoid duplicates.
In Snapling, OCR runs automatically, and screenshots are indexed in a searchable history. You can find any image by typing words from its content, saving time and effort.
Step 3: Reuse and Share Context
Once searchable, screenshots can be reused in documentation, support tickets, or team projects. Share only the necessary context without losing the original data or workflow integrity.
Snapling allows selective export and sharing, preserving visual context while enabling collaboration. This makes it easy to integrate screenshots into various professional scenarios.
Getting Started with Snapling
If your work involves frequent screenshots for reference, design, or communication, Snapling is built to enhance your workflow. It keeps screen content organized, searchable, and reusable over time.
Download Snapling today to start building your AI-generated screenshot workflow on Mac and transform how you manage visual information for better productivity.
Recommended next steps
Use these related Snapling guides when you want to go deeper into one part of the workflow.
Snapling Features — Core product capability page
Snapling Pricing — Conversion page for pricing intent
Snapling - Snipping Tool for Mac with OCR, GIFs & Screenshot History — Capture screenshots, scrolling pages, GIFs and clipboard content. Annotate, translate, search and organize visual memory privately on Mac.
How to screenshot on Mac: shortcuts, snips and next steps — Learn the Mac screenshot shortcuts for full screen, windows and selected areas, then see when to use a snipping tool with OCR and history.
FAQ
What is the best way to manage AI-generated screenshot workflow images on Mac?
Use a dedicated tool like Snapling that combines capture, OCR, and searchable history to organize and retrieve screenshots efficiently, turning them into reusable workflow context.
Can screenshots be searchable after capture?
Yes, with OCR technology, screenshots can be made searchable by extracting text content, allowing you to find images based on keywords they contain, as supported by tools like Snapling.
How does Snapling help reuse screenshot context?
Snapling enables reuse by storing screenshots with extracted text and context, making it easy to insert visuals into documents, share specific parts, or reference past captures without losing information.
Try the full workflow in Snapling
If you want this AI generated screenshot workflow images on Mac workflow in one Mac workspace, download Snapling for Mac and try it with a screenshot you would normally need to find, copy, explain, or reuse.
Recommended next steps
Try the full workflow in Snapling
Capture the screenshot, keep the useful context, search it later, and reuse it when the work comes back.