
Mac Screenshot Clipboard Manager: The Complete Guide for Mac Users in 2026
Use a Mac screenshot clipboard manager workflow to reuse captures, OCR text, and visual context without losing old screenshots.
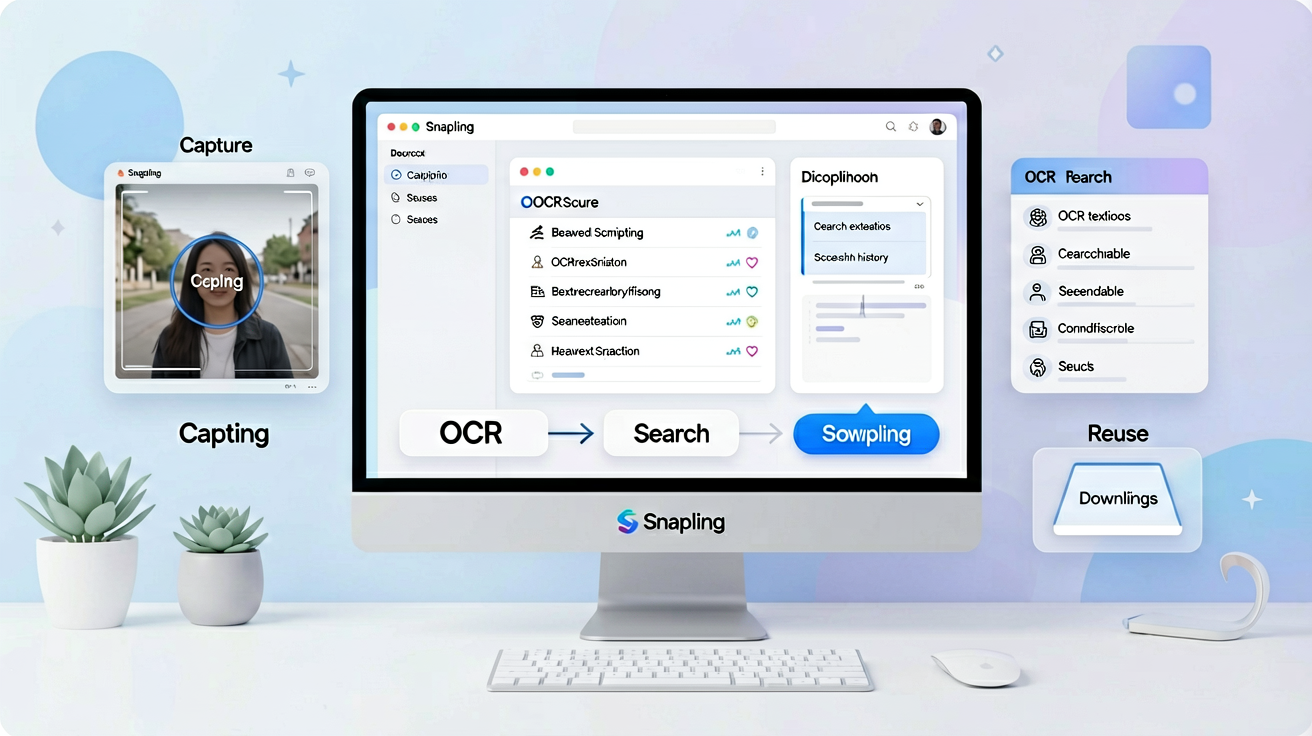
Definition
What is a Mac Screenshot Clipboard Manager?
A Mac screenshot clipboard manager is a tool that goes beyond basic screen capture or simple clipboard history. It treats screenshots and copied images as first-class, searchable, reusable assets.
Instead of screenshots disappearing into random folders and the clipboard only holding one item at a time, a dedicated manager:
- Captures screenshots with rich context (annotations, scrolling pages, window captures, etc.)
- Automatically applies OCR so you can search by text inside images
- Keeps a unified history of both screenshots and clipboard items
- Lets you quickly find, preview, edit, and reuse old captures without digging through files
The result is a single source of truth for everything you’ve captured or copied from your screen — turning scattered screenshots into an organized, searchable knowledge base.
What is a Mac Screenshot Clipboard Manager?

TL;DR
A Mac screenshot clipboard manager combines screenshot capture, clipboard history, and image management into one tool. It lets you capture with context, automatically make screenshots searchable via OCR, and quickly reuse old images without hunting through folders.
This guide shows you exactly how to build an efficient workflow using a dedicated Mac screenshot clipboard manager — so every screenshot and copied image stays organized and instantly accessible.
A Mac screenshot clipboard manager is a tool that goes beyond basic screen capture or simple clipboard history. It treats screenshots and copied images as first-class, searchable, reusable assets.
Instead of screenshots disappearing into random folders and the clipboard only holding one item at a time, a dedicated manager:
- Captures screenshots with rich context (annotations, scrolling pages, etc.)
- Automatically applies OCR so you can search by text inside images
- Keeps a unified history of both screenshots and clipboard items
- Lets you quickly find, preview, edit, and reuse old captures without digging through files
The result is a single source of truth for everything you’ve captured or copied from your screen.
Why Mac’s Built-in Tools Aren’t Enough
macOS has improved its built-in screenshot tools over the years (especially with the floating thumbnail and markup features), but it still has major limitations for anyone who works heavily with visuals:
- The clipboard only stores one item at a time. Copy something new and the previous item is gone forever.
- Screenshots are saved as plain image files with no text search or metadata.
- There’s no unified history — you have to manually organize files or rely on Spotlight (which often fails with image content).
- No easy way to reuse old screenshots across documents, support tickets, or team chats without re-finding and re-uploading them.
For light users this might be acceptable. For developers, designers, support teams, writers, and power users, it quickly becomes a daily time sink.
Key Features to Look for in a Screenshot Clipboard Manager for Mac
Not all tools are created equal. Here are the features that actually make a difference in daily use:
- Unified history — Both screenshots and clipboard items (text + images) in one searchable place
- OCR / text search — Find old screenshots by the text they contain
- Rich capture options — Window, selection, scrolling screenshot, timed capture, with annotations
- Quick preview & reuse — Drag & drop, copy text from images, or paste directly into other apps
- Smart organization — Search, filter by date/app/project, pin important items
- Privacy controls — Ability to exclude sensitive apps or auto-delete old items
- Cross-app workflow — Easy export or direct integration with tools you already use
The best tools combine these capabilities instead of forcing you to juggle multiple separate apps.
Mac Screenshot Clipboard Manager vs Using Separate Tools
Most Mac users currently solve this with a combination of tools:
- A dedicated screenshot app (CleanShot X or Shottr are very popular in 2026)
- A separate clipboard manager (Maccy, Paste, or Raycast’s built-in history)
This approach works, but it creates friction:
ApproachProsConsBest For
Built-in macOS only
Free, simple
No history, no search, one clipboard item
Very light users
CleanShot X + Maccy / Paste
Excellent capture + good history
Two apps to manage, no unified search
Users who want best-in-class capture + history
Raycast (clipboard only)
Free, fast, integrated
Weak screenshot capture & management
Keyboard-centric users
Unified screenshot clipboard manager
One app, unified history + OCR
Fewer specialized features in some areas
Users who want simplicity + power
A true unified Mac screenshot clipboard manager removes the need to switch between apps and gives you one searchable timeline of everything visual you’ve captured or copied.
Real-World Use Cases
Here’s how different people use a Mac screenshot clipboard manager in practice:
- Developers & designers — Capture bug reports, UI states, or design references and quickly pull them back into tickets or Figma comments days later.
- Customer support — Take screenshots during troubleshooting, keep them searchable by error messages (thanks to OCR), and reuse them in replies without re-taking photos.
- Content creators & writers — Grab reference images, quotes from articles, or research screenshots and reuse them in Notion, Google Docs, or blog posts.
- Students & researchers — Build a personal visual knowledge base of diagrams, charts, and lecture slides that remains searchable.
In all these cases, the key advantage is context preservation — you don’t just have an image, you have searchable, reusable context.
How to Build an Effective Mac Screenshot Clipboard Manager Workflow
Here’s a practical three-step workflow that turns scattered screenshots into a reliable system.
Step 1: Capture the Right Screen Context
The quality of your later workflow depends heavily on what you capture in the first place.
Instead of just pressing Command + Shift + 4 and grabbing a random rectangle, take a moment to capture useful context:
- Include surrounding UI elements when relevant
- Use scrolling screenshots for long pages or code
- Add quick annotations while the context is still fresh
Tools that support one-click annotations, scrolling capture, and window capture make this step much faster and more consistent.
Step 2: Keep Screenshots Searchable with OCR and History
This is where most people lose time. A good Mac screenshot clipboard manager automatically runs OCR on every capture and stores everything in a searchable history.
Instead of hunting through Downloads or trying to remember when you took something, you can simply search by text that appeared in the screenshot (error messages, button labels, article titles, etc.).
The history should also mix screenshots with regular clipboard items so you have one unified timeline of everything visual or textual you’ve copied.
Step 3: Reuse Visual Context in Docs, Support, and Team Workflows
The final step is making reuse effortless.
A strong workflow lets you:
- Drag screenshots directly into documents or chat windows
- Copy just the text from an image (thanks to OCR)
- Selectively export or share only the relevant portion
- Pin frequently reused items for quick access
When this step works well, you stop re-taking the same screenshots over and over.
How to Choose the Right Mac Screenshot Clipboard Manager for You
Ask yourself these questions:
- Do you mostly need powerful capture tools, or is unified history + search more important?
- How much are you willing to pay? (Some excellent options are free or one-time purchase, others are subscriptions)
- Do you need cross-device sync (Mac + iPhone + iPad)?
- How important is privacy and the ability to exclude sensitive apps?
If you want a single app that handles capture, OCR, unified history, and fast reuse without juggling multiple tools, look for solutions specifically built around the screenshot + clipboard combination.
Frequently Asked Questions
What is the best way to manage screenshots on a Mac?
The most effective approach is using a dedicated Mac screenshot clipboard manager that captures with context, applies OCR for searchability, and keeps everything in one unified history. This beats saving files manually or relying on the built-in clipboard.Can screenshots be searchable after capture?
Yes. Modern tools use OCR to extract text from screenshots automatically. Once processed, you can search your entire history by keywords that appeared in the images.How is a screenshot clipboard manager different from a regular clipboard manager?
A regular clipboard manager (like Maccy or Paste) mainly handles copied text and sometimes images. A screenshot clipboard manager also excels at capturing new screenshots, organizing visual content, and making images searchable through OCR.Can I use a Mac screenshot clipboard manager together with CleanShot X or Maccy?
Many people do. However, the real power comes when one tool handles both capture and history in a unified way, reducing context switching.Does a screenshot clipboard manager work with scrolling screenshots?
Good ones do. They let you capture long pages or documents in one shot and then keep that full capture in your searchable history.Is there a free Mac screenshot clipboard manager?
There are free options for basic clipboard history (Maccy is excellent), but truly unified screenshot + clipboard + OCR tools are usually paid. Many offer generous trials so you can test the workflow.How does Snapling help with this workflow?
Snapling was built specifically as a Mac screenshot clipboard manager. It combines capture (including scrolling and annotations), automatic OCR, unified history for screenshots and clipboard items, and fast reuse — all in one lightweight app.Try the Complete Workflow Yourself
If you regularly capture screenshots for work, documentation, support, or research, building a proper Mac screenshot clipboard manager workflow will save you significant time every week.
You can start today by downloading Snapling and testing the full capture → OCR → search → reuse flow with your own screenshots.
Download Snapling for Mac — Free trial available.
How to screenshot on Mac: shortcuts, snips and next steps — Learn the Mac screenshot shortcuts for full screen, windows and selected areas, then see when to use a snipping tool with OCR and history.
FAQ
What is the best way to manage screenshots on a Mac?
The best way is to use a workflow that captures screenshots with context, makes them searchable via OCR and history, and enables reuse. Snapling integrates all these steps into one app for efficient management.
Can screenshots be searchable after capture?
Yes, with tools that apply OCR to extract text from screenshots and store them in a searchable history. Snapling does this automatically, allowing you to find any screenshot by its content.
How does Snapling help reuse screenshot context?
Snapling preserves context through OCR and history, letting you copy text or images directly from screenshots, annotate them, and selectively export portions for use in documents or team workflows.
Try the full workflow in Snapling
If you want this mac screenshot clipboard manager workflow in one Mac workspace, download Snapling for Mac and try it with a screenshot you would normally need to find, copy, explain, or reuse.
Recommended next steps
Try the full workflow in Snapling
Capture the screenshot, keep the useful context, search it later, and reuse it when the work comes back.